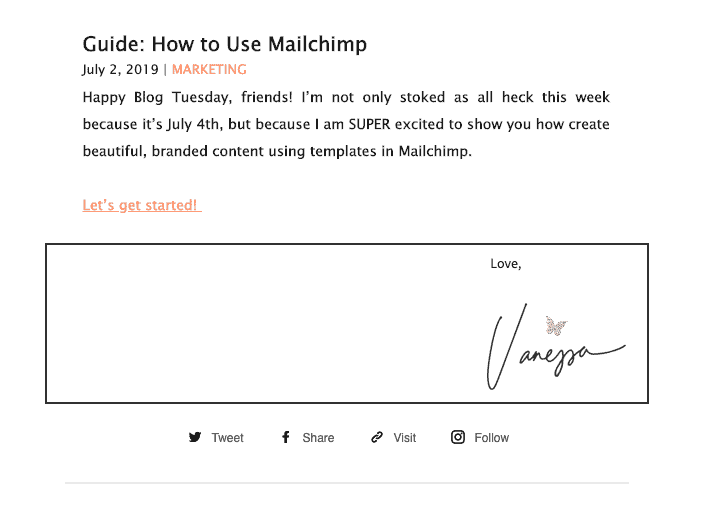
Happy Blog Tuesday, friends! I’m not only stoked as all heck this week because it’s July 4th, but because I am SUPER excited to show you how to create beautifully branded content using templates in Mailchimp.
Let’s get started!
Step 1 | Decide on a Layout
Up until recently, you had a lot to choose from with Mailchimp templates. However, things have changed and in order to access all of the templates, you must pay for them. So, your options are a bit limited, but not your creativity! Decide on your layout by what you are sending. Are you mainly sending out text with a blog and social media feature below? Do you send product recommendations and store updates?
As an example, this is a simple email layout I use to send to my subscribers. At the top is the block for a logo, then an area for text and image, and then space for a blog feature followed by social media icons and signature. To create this look, you would choose a 1 column template. Mailchimp has a premade template with a full-width option as well.

You will end up with a view like below, where you have an image at the top, followed by some text and social media icons.

Step 2 | Upload Your Logo
Very simple! You can drag and drop or click Browse to search for the file on your computer.

Step 3 | Add Content
Now we’re getting to the big stuff. Here is where you start to really build your campaign (Mailchimp terminology for a mass emailing). If your subscribers give their names when they opt-in to your email list, you can use the “merge-tag” option to automatically insert their names. Click on the text box of your email so the settings open on the right-hand side. Once you do this, you will be able to insert text, use headings and other type tools and also have the ability to add links.

~ you may feel that the options in fonts are pretty slim BUT this is actually A LOT compared to what it used to be 🤪
To insert your subscriber’s name, simply navigate to the “Merge Tags” dropdown menu and choose the “First Name” option. It will insert a *|FNAME|* tag into the body of your email. DON’Tedit this! This is how it is supposed to be; I promise.
Go ahead and apply your font settings and sizes.
Remember to hit save and close.
Step 4 | Create Blog Feature
For my blog feature, I take the featured image from my blog post and insert it in my email (here) with text and a button below. To do the same, drag the “image” block from the right-side menu and place it where you’d like it to show on your email. Then upload your blog’s featured image.

Pro Tip: Remember to set the images Alt Text (text that shows when someone doesn’t download the email’s images, so make sure the text is relevant) and Link (link it to your post).
Click Save and Close.
Moving on, we do the same with the text box. Drag the text box element from the right-hand side menu and place it below the blog post image. Now add your Blog title, excerpt, and a “Read More” link and/or button if you prefer.
Click save and close.
Step 5 | Add a Signature
To do this, I used the “Image with Caption” element on the right-hand side menu. Drag the block onto the body of your email, upload your signature image and then type your content. Under “settings” on the right-hand side menu, you can choose the captions’ position and will be able to place the caption (love, sincerely, best regard, etc.) on the top of your signature as well as align the image.
Step 6 | Social Media
Possibly the simplest step, but SO easy to forget! Simply drag and drop the social share or social follow elements onto the body of your email (many of the pre-made templates will already have the social icons on the body already, however you do need to insert your own links). From here, you can choose options for design.
When finished with your social links and design, click save and close.
Step 7 | Footer
Mailchimp will automatically insert your contact information into the footer of each email campaign you send to make sure you stay in compliance with the CAN-SPAM Act and International Spam Laws, but be sure to give the footer a look over before sending.

That’s it for using Mailchimp. Pretty simple, right?! Now you’re ready to get going on your email lists, start building your brand up and connecting with your subscribers!


